Wing Clipping in Birds: Safety, Technique, and Consideration
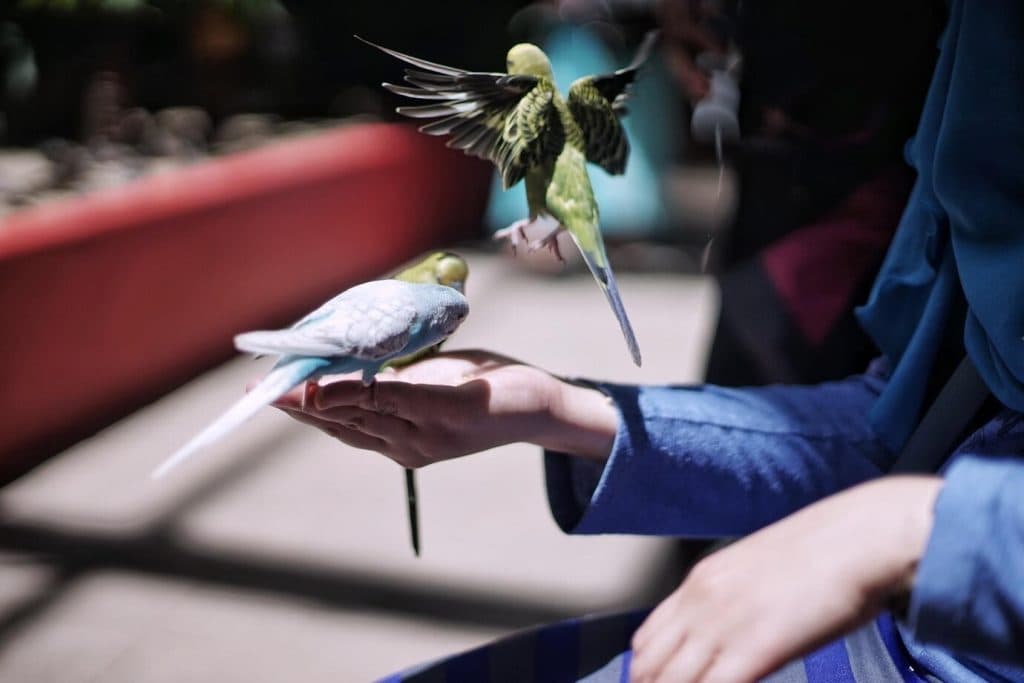
Few grooming decisions divide bird keepers more than wing clipping. Some owners clip to keep a curious parrot out of harm's way; others keep their birds fully flighted for the exercise and confidence flight provides. Both camps love their birds. At Bird Sitting Toronto, where we board hundreds of birds every year, we see the whole spectrum arrive at our door, and the honest answer is that clipping is not a moral question with one right answer. It is a practical choice you make for your particular bird, in your particular home.
The case for clipping is usually safety. Birds are relentlessly curious, and a full-flighted bird in an ordinary house can find trouble fast: flying into mirrors or windows, being caught by a ceiling fan, escaping through a door left open on a warm Toronto afternoon, or landing in an open toilet and drowning. For a bird that spends real time outside its cage, a sensible clip can lower those risks and make early taming and recall training easier.
Should You Clip Your Bird's Wings?
Before you reach for the scissors, sit with the decision. A clipped bird is easier to manage but loses the aerobic exercise and psychological confidence that come from flying. A flighted bird gets that benefit but demands a genuinely bird-proofed home and vigilant door discipline. Neither choice is neglectful; they simply trade different risks.
Two principles hold no matter which way you lean. First, let young birds fully fledge before any first clip. The Association of Avian Veterinarians and broad avian veterinary consensus agree that a fledgling should learn to fly, brake, and land before a single feather is trimmed, because that experience builds coordination, muscle, and confidence the bird carries for life. Clipping a bird that never learned to fly can leave it clumsy and fearful.
Second, understand what a good clip actually does. The goal is not to render your bird flightless. It is to reduce lift and speed so that a startled bird glides gently down to the floor instead of gaining altitude or crashing. A well-clipped bird should be able to flutter to a soft, controlled landing.
How Your Bird's Weight Changes the Clip
The single most common clipping mistake is treating every bird the same. How many feathers you remove depends on wing-loading, which is a bird's body weight relative to its wing area. Light, aerodynamic birds fly powerfully for their size and need more feathers trimmed to bring them down; heavy-bodied birds already struggle to stay airborne and need only a conservative trim, or they will drop like a stone.
| Bird | Typical adult weight | Flight profile | Clipping approach |
|---|---|---|---|
| Budgie | 30-40 g (1-1.4 oz) | Light, strong flier | More feathers; still trim gradually |
| Cockatiel | 80-100 g (2.8-3.5 oz) | Very aerodynamic, excellent flier | More feathers than most parrots |
| Green-cheek conure | 60-80 g (2.1-2.8 oz) | Agile, moderate | Moderate trim, reassess |
| Amazon | 350-500 g (12-18 oz) | Heavy, high wing-loading | Conservative; fewer feathers |
| African grey | 400-550 g (14-19 oz) | Heavy, high wing-loading | Conservative; fewer feathers |
| Macaw (blue-and-gold) | 900-1,200 g (2-2.6 lb) | Very heavy, poor glider | Very conservative; start with a couple |
The old rule of thumb holds: lighter birds like cockatiels usually need more feathers removed than heavier species like macaws or African greys. VCA Animal Hospitals and avian veterinary consensus both recommend erring on the conservative side. You can always trim one more feather after a test flutter, but you cannot glue one back.
Warning: Never over-clip a heavy-bodied bird. An African grey or macaw clipped as aggressively as a cockatiel cannot glide at all. It drops fast and can fracture its keel (breastbone) or split its beak or chin on landing. With heavy birds, remove a feather at a time and test.
Is Clipping Painful? Only If Done Wrong
Trimming a fully grown flight feather is like cutting hair or a fingernail. A mature feather is dead keratin with no nerves and no blood supply, so a correct clip causes no pain. The danger lies entirely in cutting the wrong feather. A blood feather is a new, still-growing feather with a living blood supply inside its shaft, and cutting one hurts and bleeds. That is why knowledge, not nerve, is what makes clipping safe.
Three things separate a safe clip from a harmful one:
- Proper restraint. Learn to hold your bird securely and calmly so neither of you is hurt or panicked.
- Species-appropriate technique. Match the number of feathers to your bird's weight, as above.
- Emergency readiness. Know how to stop bleeding from an accidentally cut blood feather before you begin.
If you are not fully confident, do not learn on your own bird. A qualified avian veterinarian or an experienced groomer can do the first clip while you watch. An incorrect clip can cause injuries from falling and lasting fearfulness, so there is no shame in getting help.
Tip: Set the stage before you start. Work in a small, familiar room with the curtains drawn, windows shut, and the ceiling fan switched off. A freshly clipped bird often launches on instinct and drops faster than expected, so a soft, low, uncluttered space protects that first surprised landing.
Wing-Clipping Procedure: Step by Step
Clipping is best done as a two-person job: one person to gently restrain the bird, the other to trim. Work slowly and talk to your bird throughout.
- Prepare your materials. Have a towel, bird-safe scissors, a clotting agent such as styptic powder (cornstarch works in a pinch), and tweezers within reach.
- Wrap your bird. Gently towel the bird and cradle it on its back. Never press on the chest, as birds have no diaphragm and rely on chest movement to breathe.
- Extend the wing. Reach into the towel and carefully stretch out one wing so you can see the full feather layout.
- Check for blood feathers. These have a dark blue or reddish-purple shaft and must never be clipped. If one is cut by accident, stop the bleeding immediately and seek veterinary care.
- Trim the flight feathers. Leave the outer 2-3 primary feathers for appearance, then trim the next 5-6 primaries just below the coverts (the shorter layer of covering feathers) in a smooth, even line.
- Avoid the secondary feathers. The inner secondaries should never be cut.
- Mind your scissors. Always angle the blades away from your bird's body while you trim.
- Do both wings. Never clip only one wing. An asymmetric clip throws the bird off balance and makes for dangerous, spiralling falls, so match both sides.
Warning: A cut blood feather does not clot on its own the way skin does, because the hollow shaft acts like an open straw. Apply styptic powder with firm, direct pressure. If bleeding does not stop, the feather may need to be pulled at its base. The Merck Veterinary Manual notes that an unmanaged broken blood feather can cause serious blood loss in a small bird, so treat it as an urgent problem and call your avian vet if you cannot control it.
Living With a Newly Clipped Bird
Clipping is never permanent. Flight feathers regrow at your bird's next molt, typically over a few months, so a clip is really a seasonal commitment. Check the wings periodically as new feathers come in, and re-clip only mature feathers, never the fresh blood feathers still growing.
For the first few days after a clip, watch how your bird moves. A well-clipped bird flutters gently to the ground; a bird that thuds down hard has been clipped too heavily, and you should keep it on low, soft surfaces until the feathers regrow. Whether you ultimately choose to clip or to keep your bird flighted, the aim is the same: a safe, confident bird whose well-being guides every cut you make.
Explore related topics
Related Articles
Bathing Methods for Parrots: Finding What Your Bird Loves
Every parrot has a bathing preference. Misting, dish, shower, wet leaves — here's how to find your bird's favorite.
Beak Care for Parrots: When Is a Beak Problem Serious?
A healthy beak should maintain itself through natural chewing. Here's when beak issues need attention.
Nail Trimming for Parrots: How to Do It Safely at Home
Long nails can injure your bird and damage your skin. Here's how to trim safely — or know when to let a pro handle it.